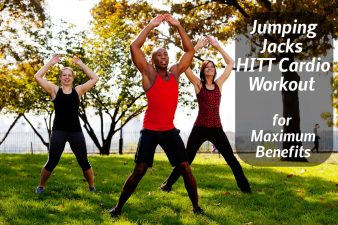
By this point, just about anyone who is interested in body weight workouts or losing weight has heard of HIIT (high intensity interval training). These workouts have become wildly popular due to their tremendous fat burning abilities in a short amount of time.
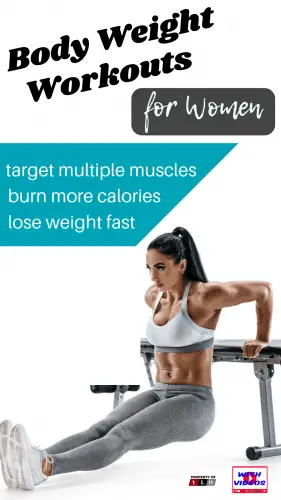
Body weight workouts for women involving HIIT may take longer than the 4-15 minute ranges. Large muscle groups may not be trained properly to get maximum results in this short time frame.
It will always remain true in the workout world that: Exercises using multiple larger muscles plus little rest between the sets will equal aerobic and metabolic benefits.
HIIT Body Weight workouts for women will garner the greatest results when resistance is added in over time. Each workout should be slightly more intense than the last.
If resistance is not added slowly, workouts will be ineffective and not give the results an individual is after. Muscles need to be continually challenged to continue to develop and result in the fat loss on a person.
Without adding resistance in addition to a person’s body weight, body weight workouts will need to be longer to gain the same results. Muscles need to be overloaded and stressed out metabolically in order to burn fat and increase muscle mass on a person.
Without a varying workout, be it in the form of a longer workout time or additional resistance, there simply will not be physical results. Completing Body Weight workouts that target large muscle groups at once, such as squats, pull-ups, pushups and inverted rows will give a person the results they are after.
Exercises like these that are incorporated into Body Weight workouts will burn more calories since they target multiple muscles at once.

Top 5 Body Weight Workouts
1. Squats
1. Stand straight with feet hip-width apart. Stand with your feet apart, directly under your hips, and place your hands on your hips.
2. Tighten your stomach muscles.
3. Lower down, as if sitting.
4. Straighten your legs.
5. Repeat the movement.
2. Mountain Climbers
1. First, they are a multi-joint movement so they take care of several body parts at one time making Mountain Climbers a very efficient warm-up move
2. Second, they are dynamic, meaning they get you moving and increase your heart rate, which is a better and safer way to warm-up compared to static stretching.
3. Third, they fire your core and activate the muscles of the abdominals and lower back.
4. Finally, they take your hips and legs through a big range of motion, preparing the connective tissue for anything that is to come.
3. Plank
1. Get in the pushup position, only put your forearms on the ground instead of your hands.
2. Squeeze your glutes and tighten your abdominals.
3. Keep a neutral neck and spine.
4. Create a straight, strong line from head to toes – a plank, if you will.
5. Hold that position.

4. Lunges
1. Keep your upper body straight, with your shoulders back and relaxed and chin up (pick a point to stare at in front of you so you don’t keep looking down). Always engage your core.
2. Step forward with one leg, lowering your hips until both knees are bent at about a 90-degree angle. Make sure your front knee is directly above your ankle, not pushed out too far, and make sure your other knee doesn’t touch the floor. Keep the weight in your heels as you push back up to the starting position.
5. Burpees
1. Begin in a squat position with hands on the floor, slightly wider than shoulder width.
2. Kick feet back to the starting push-up position.
3. Immediately return feet to the squat position.
4. Jump up as high as possible from the squat, and drop back down to the starting position.
6. Push Up
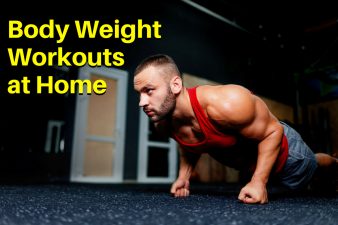
1. Begin on your hands and knees with your hands underneath your shoulders but slightly wider than your shoulders.
2. Come onto the balls of your feet and the heels of your hands, and then walk the feet back until you’re in the plank position. Keep your hips lifted to avoid the lower back bowing so the belly sags toward the ground.
3. Begin to bend your elbows, lowering your body in one solid piece down towards the floor. Your elbows will bend out to the side, not behind you. Keep your abdominal and leg muscles engaged throughout the entire movement. Your head should stay in line with your spine; not droop.
4. Lower yourself down until your chest is about an inch or two from the ground and then slowly push yourself back up to the starting position. Push through the heels of your hands in order to return to the starting position.
Tip: Don’t let your back sag down or your hips rise up. To modify, start with your knees on the floor and your hips tucked.

7. Spiderman Pushups
1. Begin on all fours placing your hands on the floor slightly wider than shoulder-width apart. Your body should form a straight line from your ankles to your shoulders. Squeeze your abs as tight as possible and keep them contracted for the entire exercise.
2. As you lower into the push-up, pull one knee up and towards the elbow of the same side. Pause, then push your body back up and return the lifted leg back to the starting position. Alternate sides.
8. Pull Up
1. Grasp pull up bar with a grip slightly wider than shoulder width, with your palms facing away from you
2. Hang from the bar, arms stretched out above you
3. Bend at the knees if there is not enough clearance below you
4. Pull your body up so that your neck reaches the level of the bar
5. Slowly descend back to the starting position
Repeat for the desired number of repetitions
9. Basic Crunch
1. Lie on your back with your knees bent and feet flat on the floor, hip-width apart.
2. Place your hands behind your head so your thumbs are behind your ears.
3. Don’t lace your fingers together.
4. Hold your elbows out to the sides but rounded slightly in.
5. Tilt your chin slightly, leaving a few inches of space between your chin and your chest.
6. Gently pull your abdominals inward.
7. Curl up and forward so that your head, neck, and shoulder blades lift off the floor.
8. Hold for a moment at the top of the movement and then lower slowly back down.
10. Hip Raise / Butt Lift
1. Lie on an exercise mat with your knees bent so that your feet are flat on the floor. Keep your back straight.
2. Place your hands out to your sides palms flat for stability.
3. Raise your glutes off the floor by extending your hips upward while pushing down through your heels.
4. Continue until your back, hips, and thighs are in a straight line. Hold for a count of one.
5. Return to the start position by lowering your hips back to the floor.
6. Pause then repeat.
A helpful article by WebMD: A No-Weight Workout


