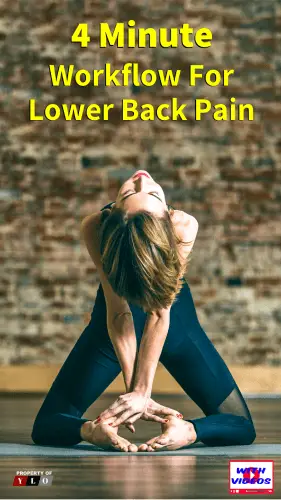
Yoga for Back Pain Relief. It Works! So why haven’t you tried it? If you are having back issues and always wondered if you could get some relief by using yoga why are you still a little afraid? Do you think you could never get into those positions? You have filled your mind with so many reasons why you think you can’t, so let’s look at what you can do.
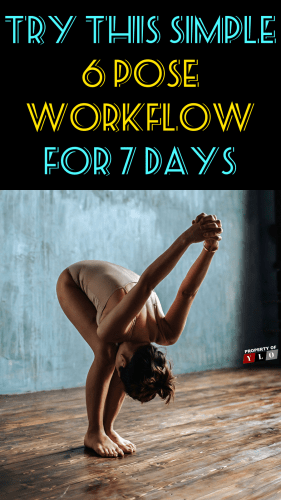
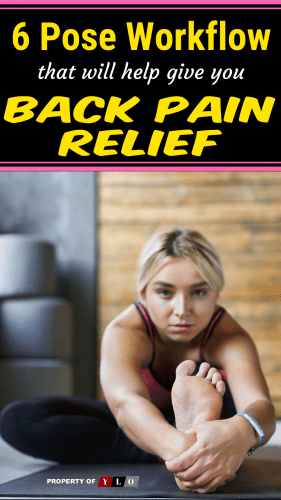
This simple 6-pose workflow is perfect for your first yoga outing. Try this workflow for 7 days and see if you can feel the benefits. This workflow is simple enough for anyone to do, no heavy lifting, handstands or any of the difficult pretzel-looking poses you have seen people doing.
Read through the directions and watch the short videos of a pose. Begin with just one. You will see how easy it is and you will be eager to do the next. Before you know it, you could realize that your back pain has been reduced or is totally gone.
1. Childs Pose
1. Begin on your hands and knees. …
2. Spread your knees wide apart while keeping your big toes touching. …
3. Sit up straight and lengthen your spine up through the crown of your head.
4. On an exhalation, bow forward, draping your torso between your thighs. …
5. Keep your arms long and extended, palms facing down.
Hold for 30 seconds breathing slowly and relaxing everything. Move directly into the next pose.
2. Cat Pose
1. Start on your hands and knees with your wrists directly under your shoulders, and your knees directly under your hips. Point your fingertips to the top of your mat. Place your shins and knees hip-width apart. Center your head in a neutral position and soften your gaze downward.
2. Begin by moving into Cow Pose: Inhale as you drop your belly towards the mat. Lift your chin and chest, and gaze up toward the ceiling.
3. Broaden across your shoulder blades and draw your shoulders away from your ears.
4. Next, move into Cat Pose: As you exhale, draw your belly to your spine and round your back toward the ceiling. The pose should look like a cat stretching its back.
5. Release the crown of your head toward the floor, but don’t force your chin to your chest.
6. Inhale, coming back into Cow Pose, and then exhale as you return to Cat Pose.
7. Repeat 5-20 times, and then rest by sitting back on your heels with your torso upright.
Hold for 30 seconds and move directly to the next pose.
3. Cow Pose
1. Start on your hands and knees with your wrists directly under your shoulders, and your knees directly under your hips. Point your fingertips to the top of your mat. Place your shins and knees hip-width apart. Center your head in a neutral position and soften your gaze downward.
2. Begin by moving into Cow Pose: Inhale as you drop your belly towards the mat. Lift your chin and chest, and gaze up toward the ceiling.
3. Broaden across your shoulder blades and draw your shoulders away from your ears.
4. Next, move into Cat Pose: As you exhale, draw your belly to your spine and round your back toward the ceiling. The pose should look like a cat stretching its back.
5. Release the crown of your head toward the floor, but don’t force your chin to your chest.
6. Inhale, coming back into Cow Pose, and then exhale as you return to Cat Pose.
Hold for 30 seconds and move directly to the next pose.
4. Downward Dog
1. Begin on your hands and knees. Align your wrists directly under your shoulders and your knees directly under your hips. The fold of your wrists should be parallel with the top edge of your mat. Point your middle fingers directly to the top edge of your mat.
Stretch your elbows and relax your upper back.
2. Spread your fingers wide and press firmly through your palms and knuckles. Distribute your weight evenly across your hands.
3. Exhale as you tuck your toes and lift your knees off the floor. Reach your pelvis up toward the ceiling, then draw your sit bones toward the wall behind you. Gently begin to straighten your legs, but do not lock your knees. Bring your body into the shape of an “A.” Imagine your hips and thighs being pulled back from the top of your thighs. Do not walk your feet closer to your hands keeping the extension of your whole body.
4. Press the floor away from you as you lift through your pelvis. As you lengthen your spine, lift your sit bones up toward the ceiling. Now press down equally through your heels and the palms of your hands.
5. Firm the outer muscles of your arms and press your index fingers into the floor. Lift from the inner muscles of your arms to the top of both shoulders. Draw your shoulder blades into your upper back ribs and toward your tailbone. Broaden across your collarbones.
6. Rotate your arms externally so your elbow creases face your thumbs.
7. Draw your chest toward your thighs as you continue to press the mat away from you, lengthening and decompressing your spine.
8. Engage your quadriceps. Rotate your thighs inward as you continue to lift your sit bones high. Sink your heels toward the floor.
9. Align your ears with your upper arms. Relax your head, but do not let it dangle. Gaze between your legs or toward your navel.
Hold for 30 seconds and move directly to the next pose.
5. Upward Dog
1. Lie prone on the floor. Stretch your legs back, with the tops of your feet on the floor. Bend your elbows and spread your palms on the floor beside your waist so that your forearms are relatively perpendicular to the floor.
2. Inhale and press your inner hands firmly into the floor and slightly back, as if you were trying to push yourself forward along the floor. Then straighten your arms and simultaneously lift your torso up and your legs a few inches off the floor on an inhalation. Keep the thighs firm and slightly turned inward, the arms firm and turned out as the elbow creases face forward.
3. Press the tailbone toward the pubis and lift the pubis toward the navel. Narrow the hip points. Firm but don’t harden the buttocks.
4. Firm the shoulder blades against the back and puff the side ribs forward. Lift through the top of the sternum but avoid pushing the front ribs forward, which only hardens the lower back. Look straight ahead or tip the head back slightly, but take care not to compress the back of the neck and harden the throat.
Hold for 30 seconds and move directly to the next pose.
6. Windshield Wiper
1. Lay down on your back. Bend your knees and place your feet flat on the floor as wide as your yoga mat. Be mindful that your toes are pointing straight ahead. Find a neutral position with your pelvis.
TIP: There should be a slight space between your lumbar spine (behind your belly button) and the floor. Take a few deep breaths into your belly. On every exhale, as the breath naturally empties out, imagine your groins and upper inner thighs softening towards the floor.
2. Now, maintain the position of your feet as wide as the mat and on an exhale allow both knees to drop over to the left. Take a few deep breaths here. Imagine your breath is like a paintbrush and with each stroke of the breath, it is as if you brush away the tension. Have the sensation that your breath is smoothing out the tightness.
A helpful article by WebMD: Yoga May Help Ease Aching Back
You Might Also Like These Similar Posts