People who experience problems with Tight Hip Flexors have a tight feeling and lack of mobility at the top of their thighs in the area of their hip and leg socket. Pain is experienced during a workout and stiffness after one. That is a pretty consistent description of Tight Hip Flexors. What can you do about it, stretching, strength training, or a new method?
Why are There Tight Hip Flexors?
There are many conflicting diagnoses for the problem. The internet is full of cures and opinions. There is very little agreement on what is the best method to follow for relief. Many opt for stretching before a workout and many adhere to workout and then stretching and so the debate goes on and on.
The truth is that every situation is different and exterior forces such as job, age, and current health all have a bearing on the problem and the potential causes. There is some good news that we have which is using yoga workouts to help relieve the stress and to work toward a possible cure.
Yoga Brings Relief
We have put together a group of Yoga poses to help your Tight Hip Flexors. They will give you relief from the problem as well as provide a means to remove the problem completely.
This is usually the first problem addressed by yoga teachers since it is the most common one that people complain about. Other common reasons for these issues are too much running, biking, weights or even walking.
Diagnostics is Complicated
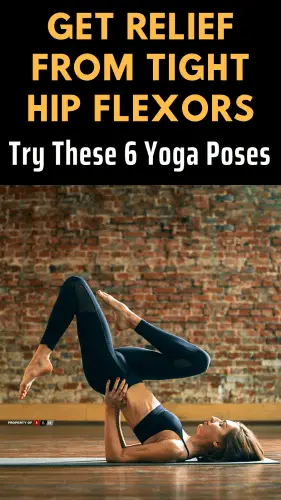
Tight Hip Flexors can result from a number of different areas which is why it is so hard to diagnose and find a course of treatment as a cure. These exercises will work the piriformis and glutes and the iliopsoas, the three main problem areas for Tight Hip Flexors.
The Iliopsoas is responsible for all of the day-to-day work of your body and as such is usually the root of most problems.
• Flexing your hip joint
• They Flex your trunk forward
• Pulling your knees upward
• Moving your legs from side-to-side and front-to-back
• Helping to stabilize your lower body
As you see they do quite a lot for your body and its different range of motions. Let’s get into our 6 yoga pose sequence to help remove this tightness and get you back into a better spot for your daily routine.
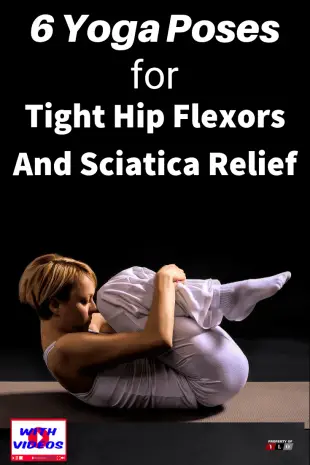
You should do this sequence at least two to three times per week.
1: Pigeon Pose
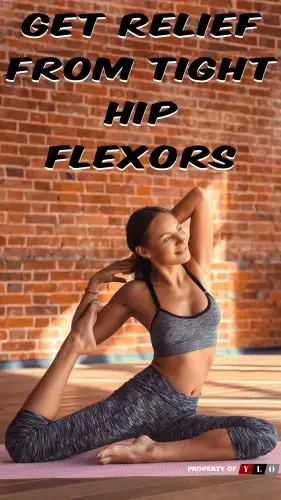
1. Start from all fours (on hands and knees), bring your right knee forward and place it more or less behind your right wrist. Place your ankle somewhere in front of your left hip. The more your lower leg is parallel with the front of the mat, the more intense the hip opener.
2. Slide your left leg back, straighten the knee and point the toes. Make sure your leg is behind your body and not drawing upwards and your heel is pointing up to the ceiling.
3. Draw your legs in towards each other to help keep your hips square.
4. Gently lower yourself down and use some support under your right buttock if needed, to keep your hips level.
5. On an inhale lift your upper body, come on your fingertips, hands shoulder width apart, draw your navel in, tailbone down and open your chest.
6. Exhale walking your hands forward on the fingertips and lower your upper body to the floor. You can rest your forearms and forehead on the mat.
7. Stay here for 5 breaths or longer and on an exhale try to release the tension in your right hip.
8. Balance your weight on both legs.
9. Come out of the pose by pushing back through the hands and lifting the hips, move the leg back into all fours.
2: Bridge Pose
1. Lying on your back, bend both knees and place the feet flat on the floor hip-width apart. Slide the arms alongside the body with the palms facing down. The fingertips should be lightly touching the heels.
2. Press the feet into the floor, inhale and lift the hips up, rolling the spine off the floor. Lightly squeeze the knees together to keep the knees hip-width apart.
3. Press down into the arms and shoulders to lift the chest up. Engage the legs and buttocks to lift the hips higher.
4. Breathe and hold for 4-8 breaths.
5. To release: exhale and slowly roll the spine back to the floor.
3: Yogi Squat
1. Begin on feet, crouched down with tailbone between ankles and hands in prayer at chest.
2. Continue to press hands firmly together while at the same time pressing elbows against inner thighs.
3. Hold and breathe for 30 seconds.
4: Happy Baby Pose
1. Lie on your back. With an exhale, bend your knees into your belly.
2. Inhale, grip the outsides of your feet with your hands (if you have difficulty holding the feet directly with your hands, hold onto a belt looped over each sole.) Open your knees slightly wider than your torso, then bring them up toward your armpits.
3. Position each ankle directly over the knee, so your shins are perpendicular to the floor. Flex through the heels. Gently push your feet up into your hands (or the belts) as you pull your hands down to create a resistance.
5: Cobra Pose
1. Place your hands palm-down on the ground beneath your shoulders.
2. Lift your chest up off the ground by straightening your arms.
3. Gaze upwards and keep your abdominals engaged.
6: Runner’s Lunge
1. Begin in a plank position with hands directly below shoulders.
2. Set your right foot forward to the outer edge of your mat next to your right pinky finger.
3. Relax through your hips and back, letting them sink toward the ground.
4. Breathe and hold for 30 seconds. Switch sides.
A helpful article by WebMD: The Best Stretches for Tight Hip Flexors

